
Introduction
When developing Android apps, managing UI-related data efficiently is crucial for ensuring smooth user experiences, especially during configuration changes like screen rotations. This is where the ViewModel comes into play. The ViewModel is an integral part of Android’s Jetpack architecture components, designed to handle and retain UI-related data throughout the lifecycle of an activity or fragment.
In this blog, we’ll explore what a ViewModel is, its benefits, and how to implement it in your Android app with examples.
What is a ViewModel?
A ViewModel is a class provided by Android Jetpack that stores and manages UI-related data in a lifecycle-conscious way. It is designed to survive configuration changes, such as screen rotations, ensuring that your app doesn’t lose critical data during these transitions.
Unlike regular data storage methods, ViewModels avoid tight coupling between UI controllers (activities/fragments) and data logic, promoting a clean separation of concerns.
Why Use ViewModel?
- Survives Configuration Changes: Data stored in a ViewModel persists even when the screen rotates or an activity is recreated.
- Improves Code Structure: ViewModel separates UI logic from data logic, making your code more modular and easier to maintain.
- Lifecycle Awareness: It works in sync with Android’s lifecycle, ensuring efficient memory usage by cleaning up resources when the lifecycle owner is destroyed.
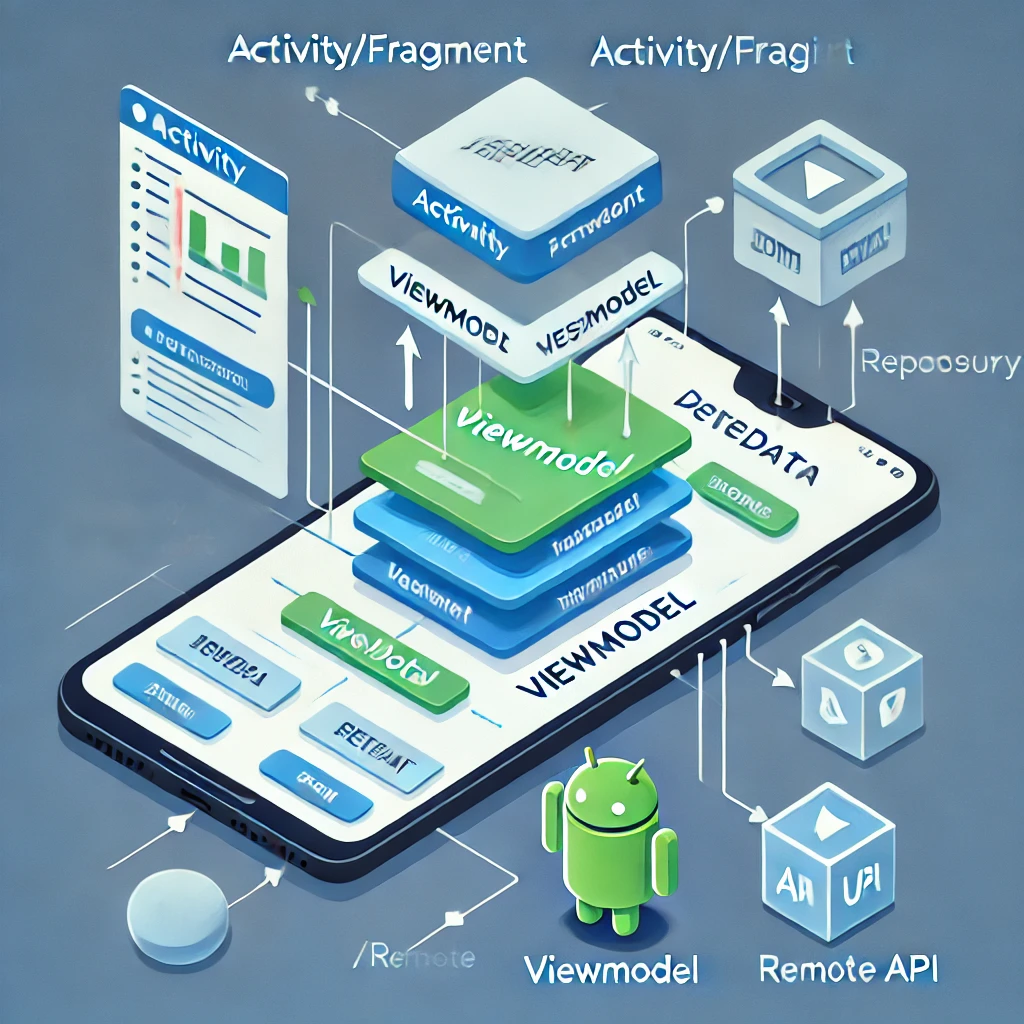
How ViewModel Fits Into Android Architecture
The ViewModel works closely with other architecture components like LiveData, Room, and Repository to ensure smooth data handling. Here’s a simple flow:
- Activity/Fragment – Responsible for UI rendering.
- ViewModel – Acts as a bridge between UI and business logic, holding UI-related data.
- Repository – Fetches data from local or remote sources.
- LiveData – Observes and updates UI when data changes.
How to Implement a ViewModel in Android
Let’s dive into a practical example of implementing a ViewModel.
Step 1: Add Dependencies
Include the following dependency in your build.gradle file:
implementation "androidx.lifecycle:lifecycle-viewmodel-ktx:2.6.1" Step 2: Create a ViewModel Class
public class CounterViewModel extends ViewModel {
    private MutableLiveData<Integer> counter;

    public MutableLiveData<Integer> getCounter() {
        if (counter == null) {
            counter = new MutableLiveData<>();
            counter.setValue(0);
        }
        return counter;
    }

    public void incrementCounter() {
        if (counter != null && counter.getValue() != null) {
            counter.setValue(counter.getValue() + 1);
        }
    }
}
Step 3: Use ViewModel in an Activity
public class MainActivity extends AppCompatActivity {
    private CounterViewModel counterViewModel;
    private TextView counterTextView;

    @Override
    protected void onCreate(Bundle savedInstanceState) {
        super.onCreate(savedInstanceState);
        setContentView(R.layout.activity_main);

        counterTextView = findViewById(R.id.counterTextView);
        Button incrementButton = findViewById(R.id.incrementButton);

        // Get the ViewModel
        counterViewModel = new ViewModelProvider(this).get(CounterViewModel.class);

        // Observe LiveData
        counterViewModel.getCounter().observe(this, count ->
            counterTextView.setText(String.valueOf(count))
        );

        // Increment the counter on button click
        incrementButton.setOnClickListener(v -> counterViewModel.incrementCounter());
    }
}
Step 4: Layout (activity_main.xml)
<LinearLayout
    xmlns:android="http://schemas.android.com/apk/res/android"
    android:layout_width="match_parent"
    android:layout_height="match_parent"
    android:orientation="vertical"
    android:gravity="center">

    <TextView
        android:id="@+id/counterTextView"
        android:layout_width="wrap_content"
        android:layout_height="wrap_content"
        android:text="0"
        android:textSize="32sp"
        android:padding="16dp" />

    <Button
        android:id="@+id/incrementButton"
        android:layout_width="wrap_content"
        android:layout_height="wrap_content"
        android:text="Increment" />
</LinearLayout>
Best Practices for Using ViewModel
- Avoid Storing UI Elements: Never store references to activity or fragment objects in ViewModels to prevent memory leaks.
- Combine with LiveData: Use LiveData with ViewModels for seamless UI updates.
- Use Factories: For ViewModels with dependencies, use a ViewModel factory to pass required parameters.
Conclusion
The ViewModel is an indispensable tool for managing UI-related data efficiently in Android apps. By implementing ViewModels, you can create more robust, maintainable, and lifecycle-aware applications. Start using ViewModels in your projects today and experience the difference they make!
For more details visit: https://developer.android.com/topic/libraries/architecture/viewmodel